Creating Compelling Video Content: From Idea to Upload
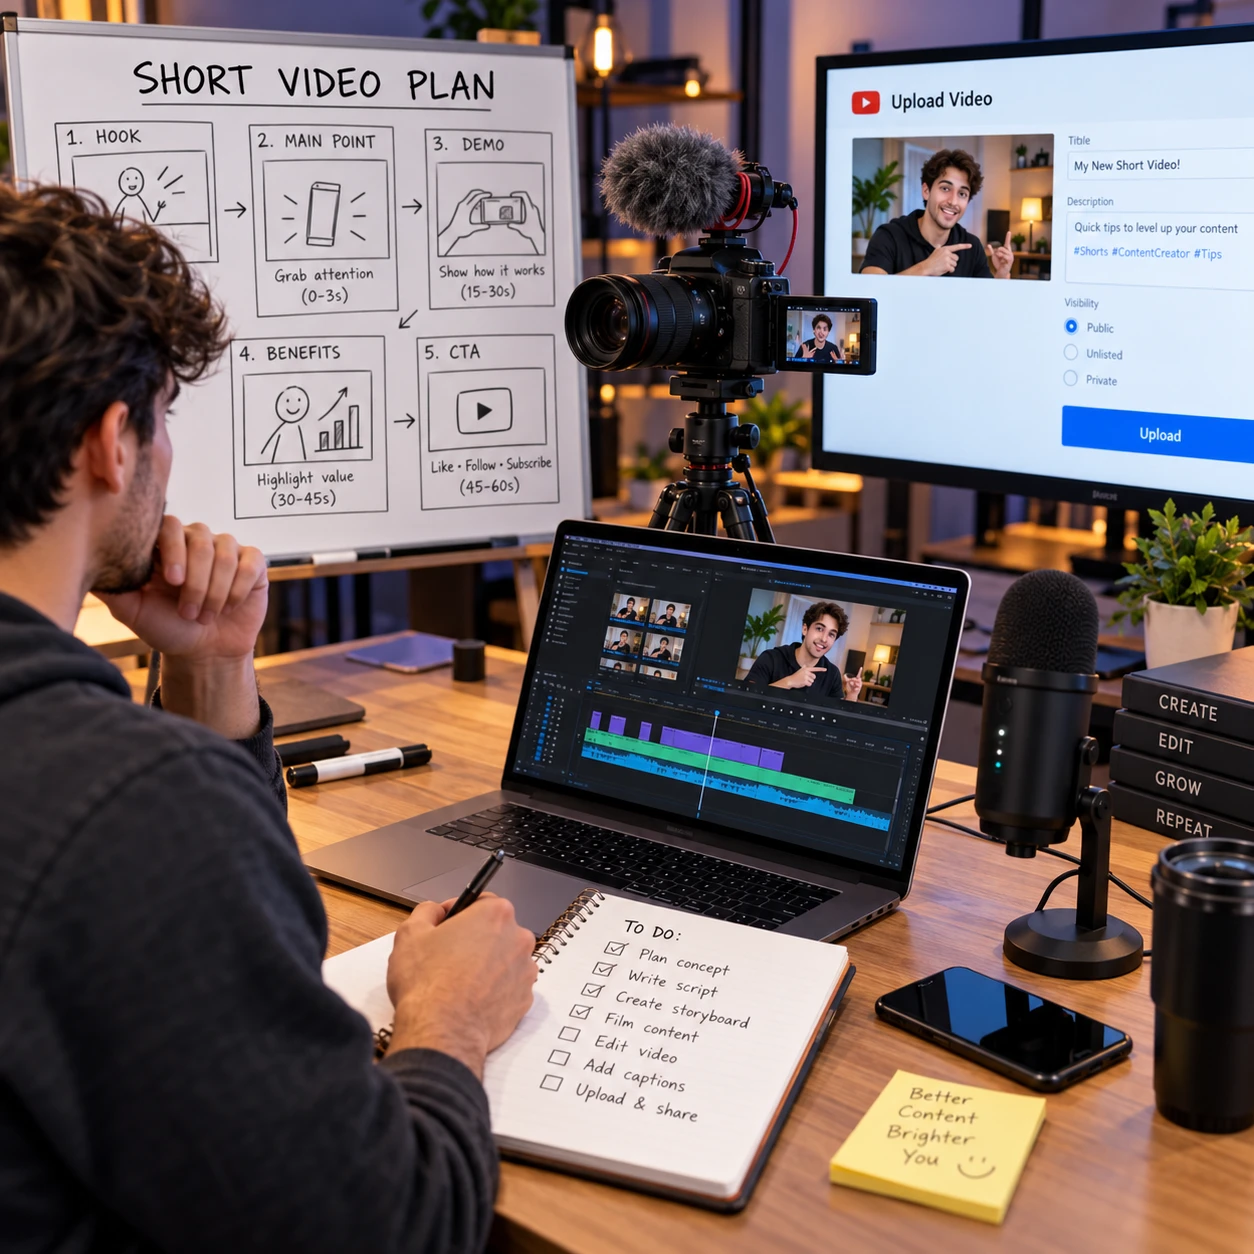
A compelling video starts well before you press record. A focused idea, a clear plan, thoughtful filming, and a final upload check all help viewers understand why they should watch and stay. This workflow takes you from your first video concept to publication without requiring a studio or a complicated production setup.
Start with an idea and audience
Choose a video topic that solves a specific problem, answers a real question, or shares a useful experience for a clearly defined audience. The more precisely you know who the video is for, the easier it is to make decisions about its format, language, and level of detail.
Begin with a simple prompt: What should a viewer know, feel, or be able to do after watching? For example, “how to organize a small desk” is more actionable than “workspace ideas.” The focused version gives you a natural promise and helps prevent the video from wandering into unrelated advice.
To test a video concept, consider three things:
- Audience: Who is likely to watch, and what do they already know?
- Need: What question, challenge, or curiosity does the topic address?
- Angle: What can you show, explain, or demonstrate that makes your version useful?
Choose a topic you can support with knowledge, access, or first-hand experience. A timely trend may attract attention, but it can be a poor fit if you have little to add. A smaller, specific subject often makes a stronger video than a broad topic that promises more than you can deliver.
Shape the idea into a clear plan
Turn the video concept into a short plan by deciding its purpose, video format, key points, and order. A script or storyboard gives the recording a direction while leaving room for natural delivery.
First, choose one main purpose: explain, demonstrate, compare, entertain, or document. Then select a video format that suits it. A tutorial benefits from clear steps and close-up demonstrations; an interview needs strong questions and attentive listening; a personal update may work best as a direct-to-camera conversation.
Next, build a simple structure:
- Opening: State the topic and what the viewer will get from the video.
- Main section: Cover three to five key points in a logical sequence.
- Close: Recap the useful takeaway or tell viewers what to do next.
Write a full script if exact wording matters, such as for a product explanation or a short narration. For conversational videos, use a storyboard or bullet-point outline instead. Mark where you need a demonstration, screen recording, or supporting shot. This small preparation step reduces repeated takes, but an over-scripted delivery can sound stiff, so leave space for your own voice.
Prepare to record
Prepare a quiet, well-lit setting, test your audio, and choose recording equipment you can use reliably. Clear sound and a stable image usually matter more than owning the most expensive camera.
A smartphone can record effective video when the lens is clean, the device is stable, and the scene has enough light. If you have a camera, learn its basic focus and exposure settings before recording. A tripod or stable surface helps prevent distracting movement. An external microphone can improve speech clarity, especially in a noisy room, but first test the built-in microphone from the distance you plan to use.
Set up the recording space with the viewer in mind. Face a window or place a light in front of you rather than behind you, which can leave your face in shadow. Reduce background noise by switching off fans or alerts where practical. Keep the background tidy, but make sure it still fits the subject rather than looking artificially empty.
Before a full take, record a short test clip and check the picture and sound with headphones. Confirm that your face or subject is in focus, speech is easy to hear, and no important detail is cut off. This quick check can save a complete reshoot.
Film for clarity and engagement
Film in a way that makes the main idea easy to follow: deliver one point at a time, show relevant details, and keep the pacing purposeful. Viewers should not have to guess what matters or wait through long pauses to find it.
Start with the promised value, not a long preamble. In a how-to video, explain the result and then demonstrate each step in sequence. In a commentary video, establish the question before giving your perspective. Speak at a comfortable pace and leave a brief pause between sections; these pauses make editing easier and help viewers absorb information.
Use supporting shots to clarify what you are saying. A close-up of a tool, a screen recording, or a simple on-screen label can make an explanation more concrete. Keep these visuals relevant: extra movement or decorative footage can distract from the message. If you make a mistake, pause, repeat the sentence, and continue. You can remove the stumble during editing.
Engagement comes from usefulness and delivery, not constant cuts or exaggerated energy. Vary your framing or visuals when the subject changes, and make sure each change serves the explanation. For a practical video, showing the finished result early can give viewers a reason to follow the steps that come next.
Edit and review the video
Edit the recording by removing distractions, arranging the strongest material in a clear sequence, and checking that speech and visuals work together. A good editing workflow improves understanding; it does not need to add effects to every moment.
Start by assembling the main sections in order. Trim false starts, repeated explanations, long gaps, and anything that does not support the video’s purpose. Then review the full sequence for flow. If a section feels confusing, moving or rewriting it may help more than adding a transition effect.
Check the audio before polishing the visuals. Speech should remain at a consistent, comfortable level, and background music should never compete with spoken words. Add captions when the platform supports them, then review them for names and technical terms. Captions can improve access and make the video easier to follow in sound-off situations, but automatic captions may need correction.
Watch the final edit once on the device or screen your audience is likely to use. Look for abrupt cuts, unreadable text, black frames, accidental private information, or a weak ending. If possible, ask one person unfamiliar with the project to watch and explain the main takeaway. If they miss the point, revise before export.
Prepare and upload to the platform
Before publishing, export a clean video file, write an accurate title and description, choose a clear thumbnail, and confirm the video platform’s upload settings. These details help viewers understand what the video offers and help you avoid preventable publishing mistakes.
Use the platform’s recommended export settings when available. Check the resolution, aspect ratio, and audio playback after export; a file can look different from the editing preview. Keep an original copy of the finished export and project files if you may need to make corrections later.
Make the title specific and truthful. A viewer should be able to tell what the video covers without decoding a vague phrase. In the description, summarize the value, add context or relevant resources, and include any disclosures that apply. The thumbnail should remain legible at a small size and represent the actual video. A close-up subject and a few readable words can work better than a crowded collage.
Before clicking publish, review the platform’s settings for visibility, audience designation, captions, language, and any category or licensing options that apply. Preview the uploaded version if the platform allows it. Check the title and thumbnail on the video page, verify that the correct file is live, and confirm that the intended visibility setting is selected. Scheduling can help coordinate a release, but a scheduled video still needs a final review.
- Does the title accurately describe the content?
- Does the thumbnail match the video and remain readable on mobile?
- Are captions, visibility, and audience settings correct?
- Does the uploaded video play with clear picture and sound?
Frequently asked questions
How do I choose a video topic?
Choose a topic that connects an audience need with something you can explain, demonstrate, or explore credibly. Narrow broad ideas into one useful question, then check that you can deliver on the promise in a single video.
Do I need professional equipment to make a video?
No. A smartphone, stable support, suitable light, and a quiet recording space are enough to begin. Better equipment can help in specific situations, especially when sound or low-light conditions are a problem, but it cannot replace a clear idea and careful recording.
What should I check before uploading?
Review the exported file, title, description, thumbnail, captions, and platform upload settings. Confirm that the video plays correctly and that its visibility and audience settings match your intentions.
How can I make a video more engaging?
Open with a clear reason to watch, organize the content around a focused purpose, and use examples or visuals that make each point easier to understand. Remove repetition during editing and keep the pacing suited to the subject rather than adding cuts for their own sake.